Packaging Solutions for a Clear Project Brief

Direct answer: This page is a starting point for a packaging project brief. Compare format questions, then confirm materials, artwork, printing, finishing, sampling, quantity, destination and acceptance conditions for the individual project.
Packaging formats and project inputs

(01) RIGID BOX PROJECT INPUTS
Rigid-box project inputs
State the approximate dimensions, material preference, construction, lid or closure, insert requirements, and presentation goals. If the package will be shipped or repeatedly handled, record the relevant handling and acceptance questions instead of assuming a visual reference proves performance.

(02) FOLDING CARTON PROJECTS
Folding-carton project inputs
Confirm the flat format, dimensions, board or paper, fold and closure details, artwork status, quantity estimate, and intended distribution. A dieline, reference image, or physical sample can help explain the structure; the final specification remains project-specific.

(03) CORRUGATED & DISPLAY
Corrugated and display questions
Record the load or handling context, assembly, dimensions, graphics, destination, and any display requirements. These are briefing questions, not a claim that one material or format is suitable for every project.
Separate the intended use from the final performance or acceptance requirement.
(04) PAPER BAG PROJECTS
Paper-bag project inputs
Note the paper preference, size, handle, print, finish, and intended use. Record the finish choices that need review rather than assuming a particular surface effect is appropriate for every project.

(05) PRINTING & FINISHING
Printing and finishing decisions
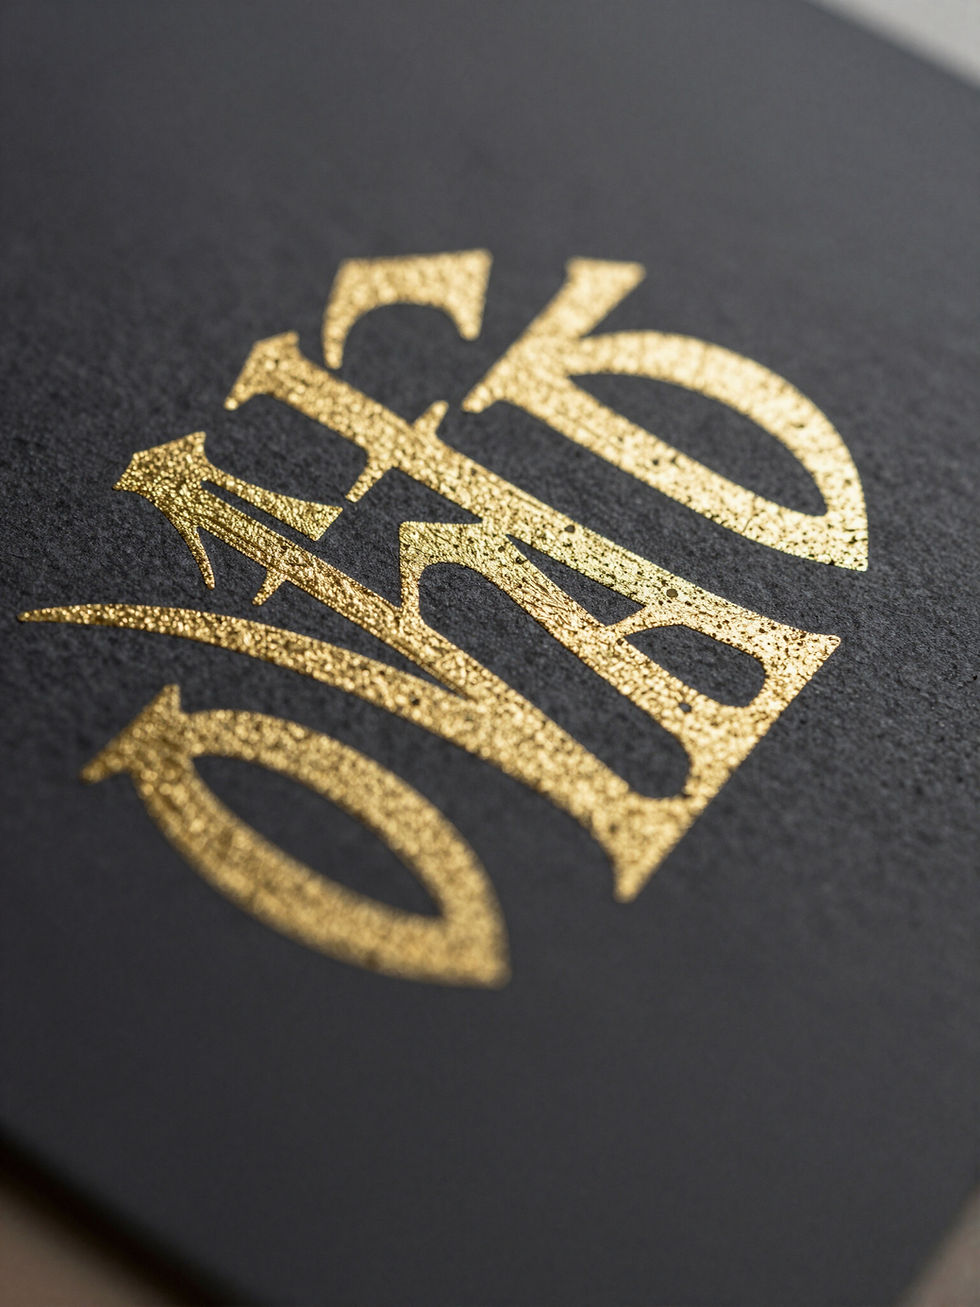
Share the current artwork, dieline status, colour references, variable-data notes, and barcode ownership. List finishes that need review, such as coating, foil, embossing, debossing, spot UV, or a particular texture.

(06) SAMPLING & ACCEPTANCE
Sampling, proofing, and acceptance
State whether the project needs a digital proof, physical sample, structure mock-up, or another agreed review step. Before approval, write down the checks that matter: dimensions, construction, artwork version, colour reference, finish, quantity, packing method, destination, and any project-specific inspection or transport requirement.
From project brief to approval
01
Share the project inputs
Start with product use, format or opening, approximate dimensions, materials, artwork status, quantity, destination, target date or sample preference, and the files you are authorized to share.

02
Review artwork and structure
Use the artwork, dieline, colour references, structural notes, and handling context to identify what needs confirmation before a project response is written.

03
Agree sampling and acceptance
Define the sample or proof step, inspection points, packing method, destination, and any project-specific acceptance condition in writing.

Prepare a project brief
Use the Contact page to share the format, materials, artwork, quantities, destination, and acceptance checks for a written project response. Photos, examples, or general descriptions do not by themselves prove certification, capacity, price, minimum order quantity, or delivery timing. This page is a preparation guide, not a quote, order confirmation, or delivery promise.